
It all started with the Lead Adventure Forum Lead Painter's League. The league is an annual competition where contestants enter 10 groups of painted figures at a rate of one group per week. The judges are the forum community, and voting commences at that start of each week. It was a lot of fun to take part, and it gave me some ideas...
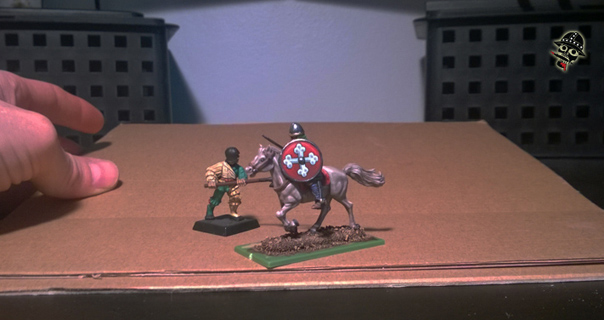
One rule was that you couldn't use an image as your backdrop. It had to be either terrain, or a colour gradient. This was a tough thing for me because I've been using images as my backdrop since, well, for ages. So, I had to set up and tear down an entire terrain layout for every picture! It was a lot of work.
Then I saw this little paper-based image that had some 3D elements to it and thought to myself "maybe a shallow forced-perspective terrain piece could work?" Forced perspective is a way to arrange items in a field of view - in my case, an image - so that it looks like it goes far off into the distance when in actuality it doesn't. And so an idea was born. The potential was limitless too, but the first forced-perspective set up had to be good... So, I decided on a village. Something not too difficult, but cool enough that I could use for some time to come, and show off the effect easily.
This was my first attempt at a forced perspective terrain project. I've done forced-perspective drawings many times, how hard could terrain be? It was also my first hobby project that wasn't meticulously planned... Whenever I've done projects in the past I've always spent hours and hours planning, brainstorming, sketching, etc. before I get down to work. Unfortunately, all this planning takes time that I don't have to spend these days. So, for this one, I decided to just wing the whole thing...
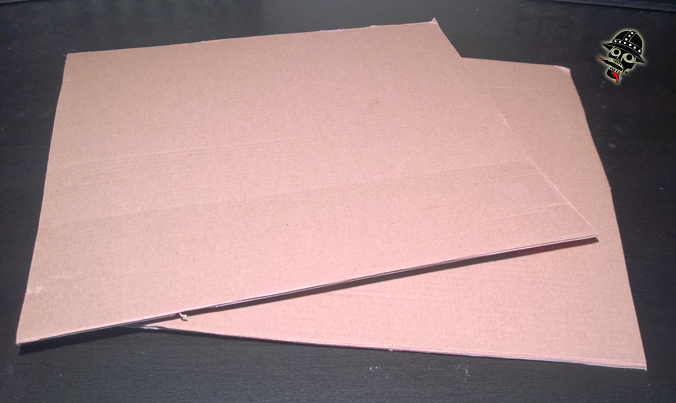
The project started off with two pieces of cardboard that were basically the same size. Just plain old packaging cardboard.
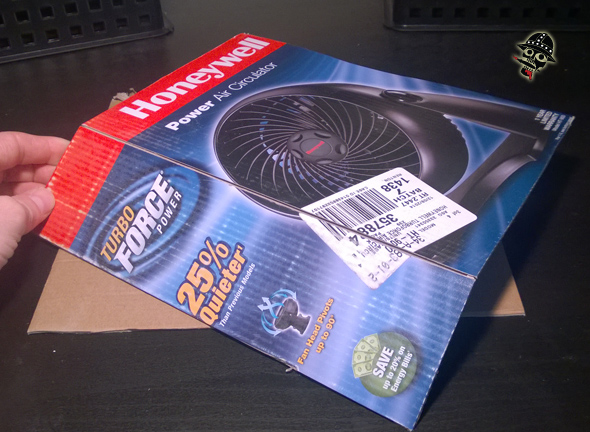
Flipping over the cardboard I first lightly sanded the side with the glossy picture on it, otherwise it wouldn't hold glue. Then I cut the top layer of the cardboard so that I could bend it up. Note that the cut isn't all the way through, but just through the top later to allow the cardboard to be easily bent.
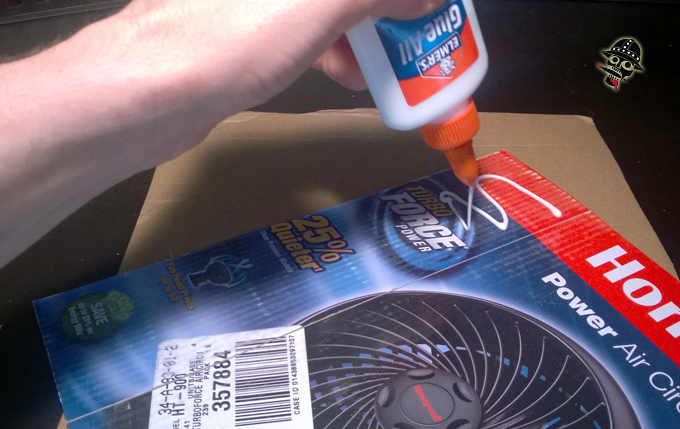
Next step is to add copious amounts of glue. I always use a lot of the all purpose white glue, as it holds very strongly, and doesn't really take that much time to set.
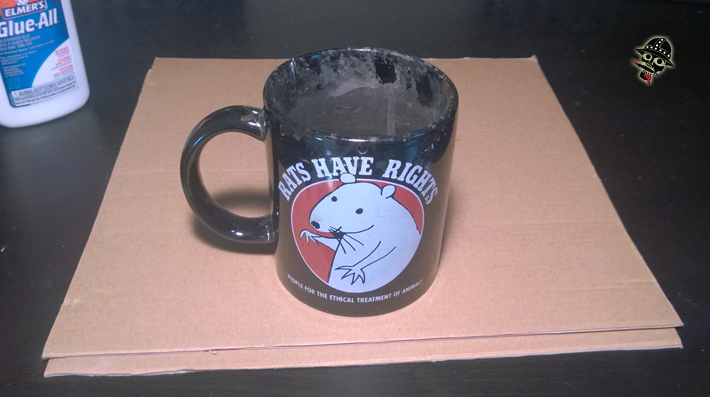
Once the glue is on, I placed the cardboard in the location I wanted it to be, pressed it together firmly, and then used the favourite RATS HAVE RIGHTS mug to hold it in place. Note that you can use any mug, or any item heavy enough and it should work fine :) Yes, lame joke, but whatevs!
Next step was to figure out how much angle I needed to pull off the forced perspective effect. To get this I placed a couple of miniatures onto the area where I planned to put miniatures for photography when it was all done, and simply eyeball the height. Once I had the height, I simply measured it, cut some foam core to the right height, and glue it in place with white glue. It's bestLet to let all of the glue set up before proceeding.
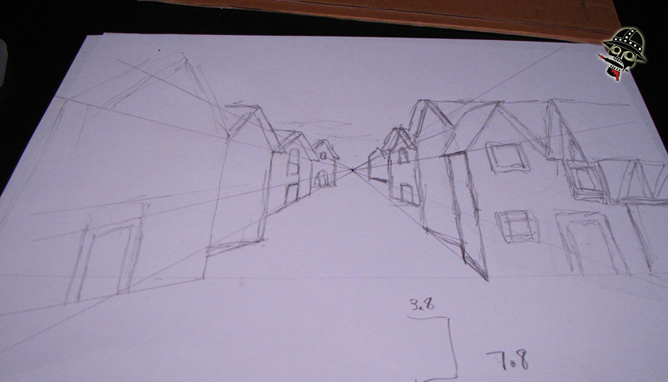
Up until now I had been winging it. I fought the urge to draw a picture of the exact final plan until now, but at this point I needed something before I could really proceed. So, I drew a quick sketch. This took about three minutes to put together just to form a basis for reference. I didn't want to spend too much time planning, but I really couldn't proceed without something...
With the sketch in place, I decided to simply jump right in. I decided that the front few buildings wouldn't really need the forced perspective effect built in because they would be in the foreground. At the end of it all I'm still not sure that was the right decision, but what's done is done! Please let me know what you think in the end, does the foreground work?
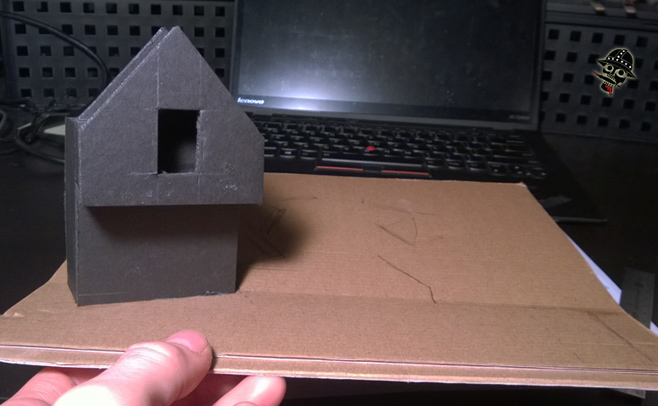
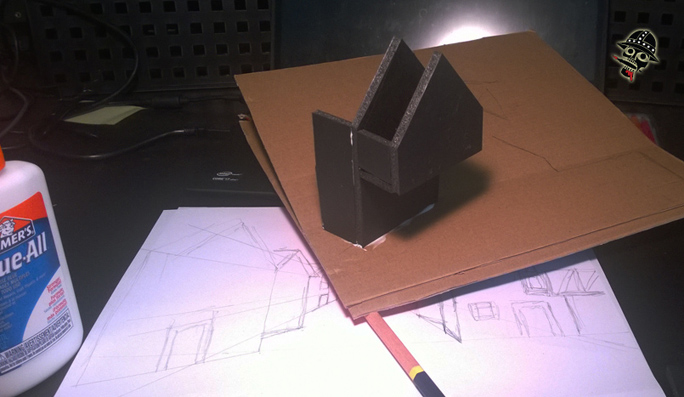
In my haste to get things started, I realized that I hadn't cut the hole for the window or done the detail for the door. So, I cut the window hole, and then took a shot of how the building would look against the forced perspective background. Still, at this point it's hard to imagine what the final product will look like. For details on how to build these little structures, please check out the Building the Pony and Medieval House articles.
For the next step I started adding more houses to the forced perspective town. Since this wasn't planned In just started adding one house/building at a time, but I quickly learned two things. The first of which was that I needed some easy and quick way to figure out the correct angle of the houses. For this I used thin packaging card, which is easy to cut and basically free! Using the cardboard templates, I added the first few structures.
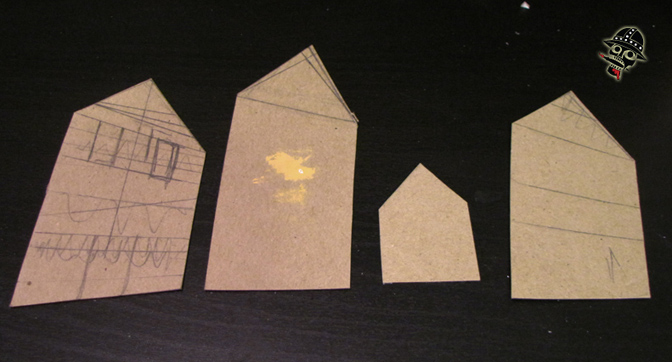
Here are some examples of the thing cardboard templates I used to create the houses/buildings in the scene. The best thing about them was that I could just eyeball the angle of the base and roof that I thought would work and then place it in the terrain piece to test if it fit. I could then change the angles slightly until I got it to fit... And if I couldn't get the template to fit, I could simply start over with a new one.

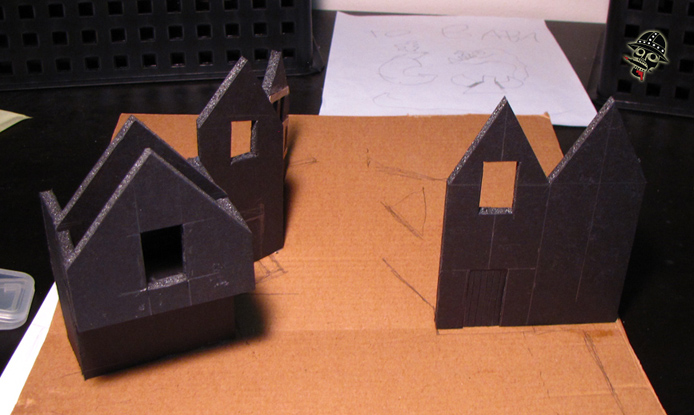
Here's the first forced perspective shot just to ensure that I was on the right track... Still not too convincing at this point. But it brings up the second thing that I learned quickly as the project came together: it would be impossible to detail and paint everything if I glued it all in place first. So, that meant that I'd have to detail and paint the pieces before they were glued in place. Now, I don't like doing things that way... I would rather do things logically: design, build, paint, finish. But in this case I'd have to design, build, paint, build, finish... meaning that the project would have to be basically complete before it was assembled...
And so, I stopped putting buildings into the piece. Instead, I build each piece and then added all the details, and then I planned to paint and finally glue them in place near the end. Here you see a distant building in the foreground to show just how small it is compared to the other buildings and figures.
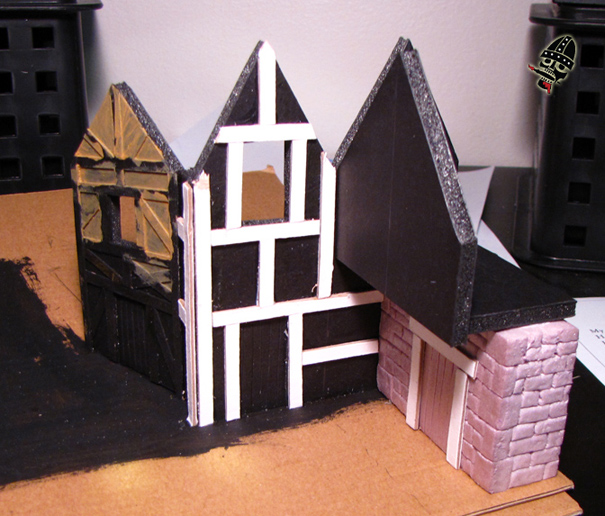
Things got slow at this point, since I had to add the structures and all the details before I could place anything. To alleviate the length, I added some buildings to the foreground of the piece, since they'd be easy enough to paint even if they were already fixed in place. I added a stone-foundation building as well to break the monotony of all wattle and daub construction. For a guide on how to detail insulation foam with a stone finish, check out my Building Umbar article.
I took the opportunity to take another shot to check the forced perspective. You can see a lot more detail is on, and painting has begun. But is the forced perspective effect working yet? Still not too sure...
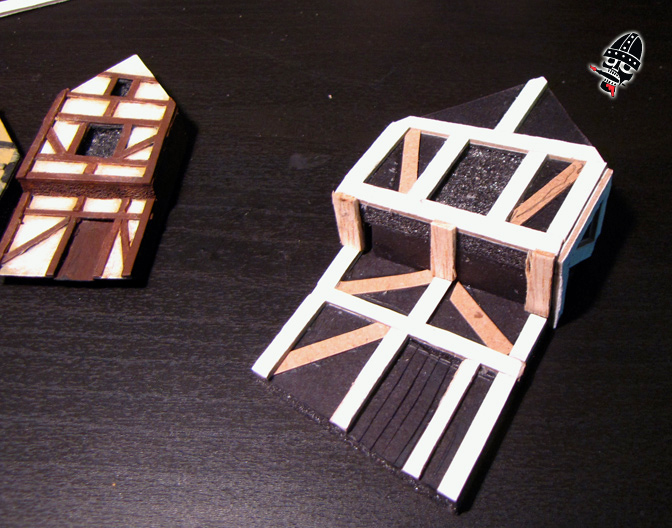
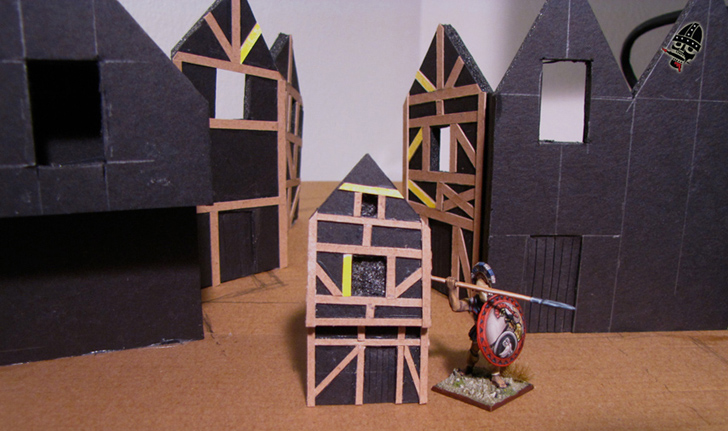
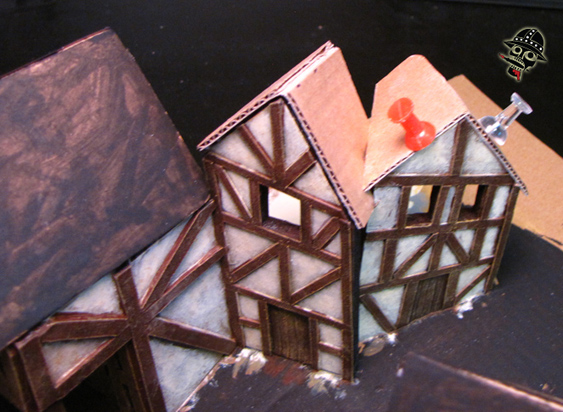
Here's a close up of a few buildings that I built for the piece, but hadn't paced. These ones couldn't be placed until they were completely finished because their final location would make them impossible to paint and detail after they were added. Note the angles of the walls and the structural boards, as well as the size difference.

The painting went pretty fast for the most part... Not sure it's all that high quality, but was done at this point, so I started putting on the roofs. I had to be a little careful here since the roofs also had to be in forced perspective. I did this simply by placing the roofs square with a liberal amount of glue, and then simply pushing them downwards until they looked sensible. Once in place, I pinned them.
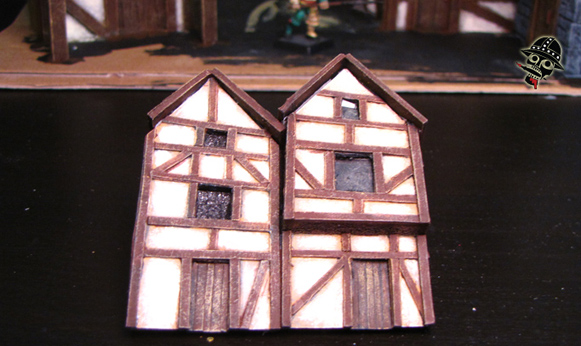
Here are the two furthest structures. They're all detailed up and ready to go, almost...
As the roofing was going on, I took another chance to take a shot to see if the forced perspective was working... I'm starting to think it looks a little better! I can almost believe it now!
A shot from above gives away a bit of the structure, but also you can see the roofing material going on... Shingles are the most work of the whole project, since I basically cut every shingle. Well, it's actually not that hard. For details on how to make simple and fast shingle, check out the Building the Pony and Medieval House articles.
Here's a close up of a pinned roof. I didn't plan really, so to fit the roofs together I simply placed it where I wanted it, and if it didn't quite fit, I trimmed a bit, and placed again. I repeated the process until it was in the location, and at the angle, that I was looking for.

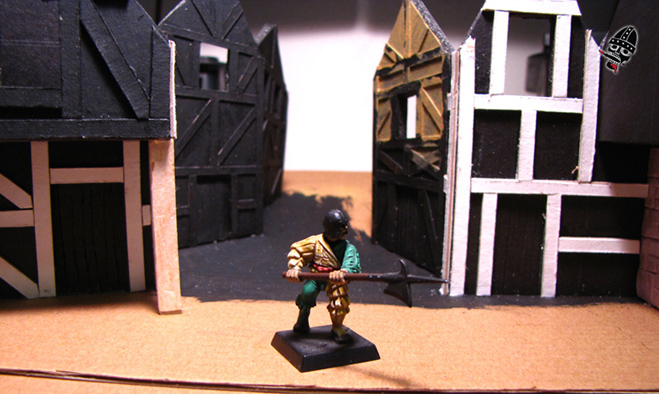
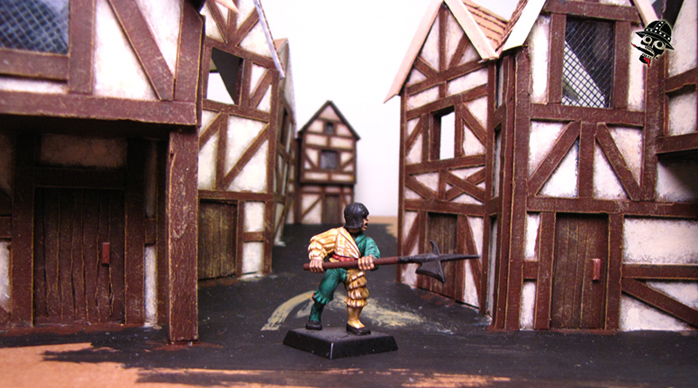
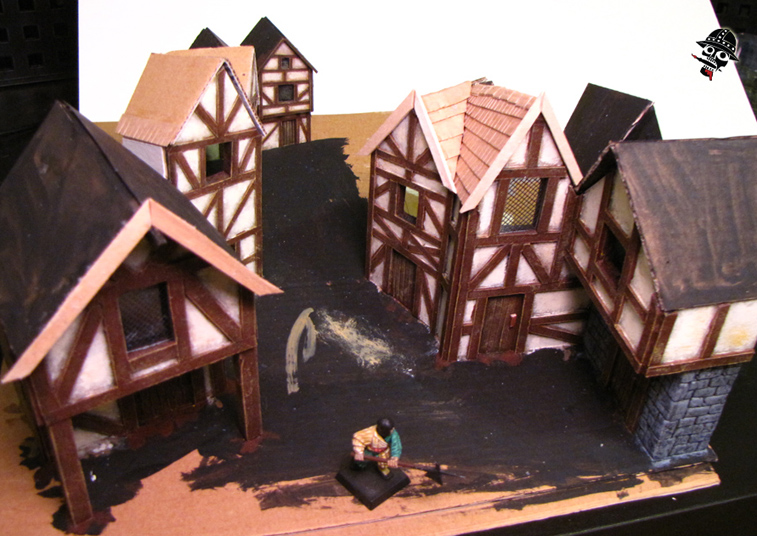
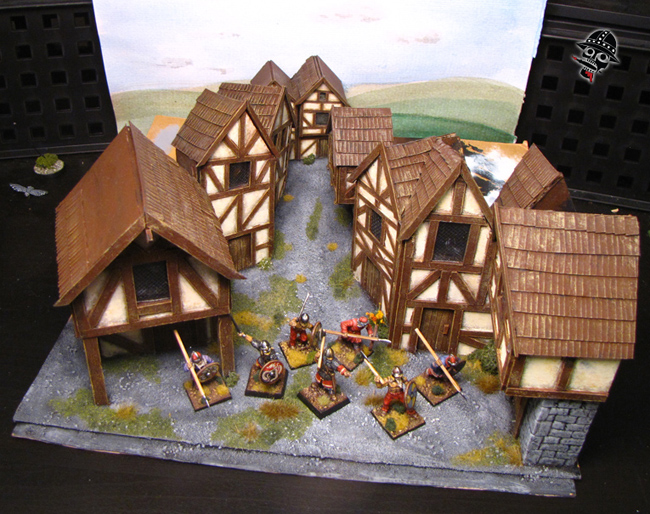
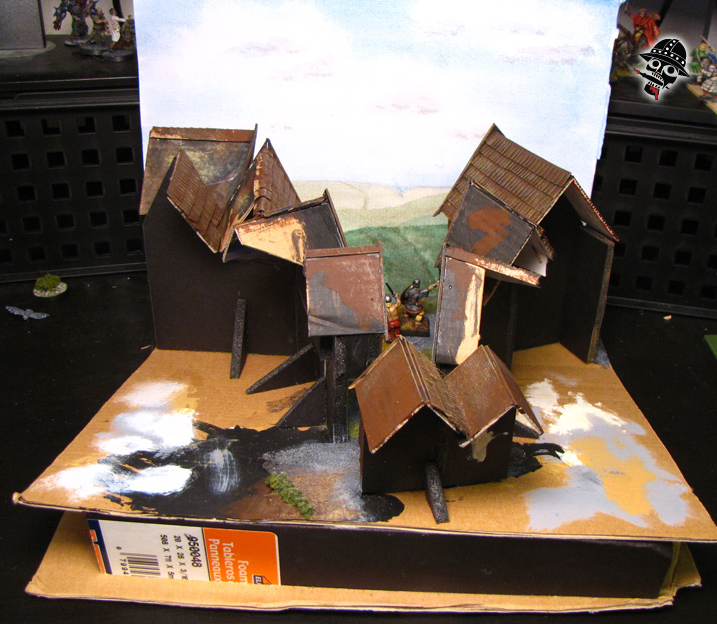
Finally it's done! With the roofing in place and the buildings all painted, the final pieces were glued, and the surface of the street was completed. Time to throw in some figures and take some pictures... I think the forced perspective is pretty good, but I'm going to have to figure out the proper lighting and camera angles in order to make it work very well I think... Still, I'm pretty happy with it! For details on how I finished the windows, take a look at the Building the Pony and Medieval House articles.
So now that it's done, it's time to take a look beyond the curtain. Here's a high-level view of the finished piece. You can start to see how only the front facade is complete, very much like a movie set; there's no need to finish the parts that nobody is ever going to see!
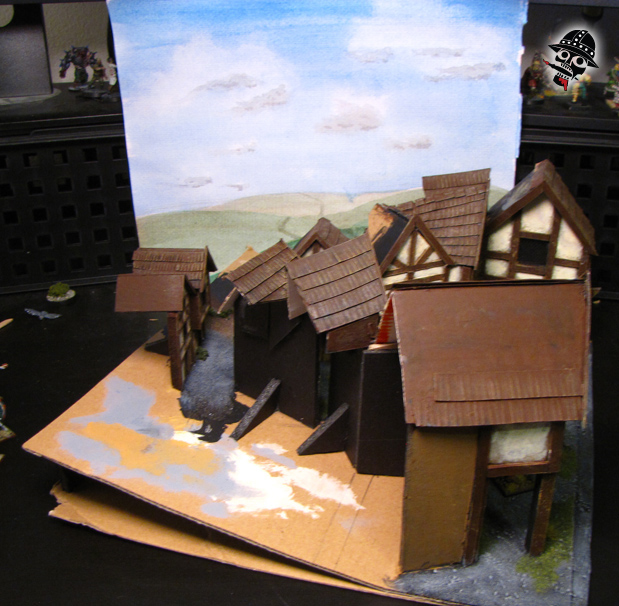
From a side view it's easy to see how the buildings are actually just the fronts, there aren't really any backs or sides. The roofs go back only as far as they absolutely need to. It saves time in the construction process!
From the back it's barely recognizable!
So that's the end of the medieval village in forced perspective. It was a fun little project, and I learned a lot so the next one will be better! I am hoping to make a few more similar pieces at least: modern for zombie games, viking-age including longships and everything, generic ancient farmstead, and a generic landscape... Since they're fixed, and might get boring after a while, I plan to add details as well. Things such as little elements to change the backgrounds, market stalls, miniatures figures in varying scales, and other details to keep them fresh for taking images of figures!